
Music Rescue Part 3: Recovering data on newer devices
On the latest devices the operating system installed on the devices blocks access to the main drive making it more difficult to get to the music data stored on your iPod or iPhone. There are however a few tricks to overcome that problem. You can use a number of 3rd party solutions which can read the media database on your iPod
and copy over the music that is stored back to your pc. We will look at the various software available today later on.
As a word of warning this method only works of devices running older iOS (5.x for iPhone) and is only compatible with iTunes 10.x or lower that your device supports. If you have a newer device you will have to use a 3rd party tool to interface with your iPod or iPhone to get the data. However the first part of this article does apply to both new and old versions. The reasons for these changes are to block the app access to other apps spaces for security so each app runs in its own sandboxed environment that has its own sharing space. New iOS versions did introduce a shared storage space but unfortunately the music is not stored in that folder.
Stopping your iPod or iPhone from synchronising.
The first thing that you should do when connecting your iPod or iPhone to a freshly installed iTunes is not to allow it to synchronise its data as iTunes library is considered to be most updated and is just copied over to your iPod. By default it will synchronise automatically which can lead to problems, however there is protection against this if you connect your iPod to a new iTunes library. The problem does mostly arise when it is the same library that you connect to, for example you accidently deleted all your music or just a few tracks that you would like to recover.
For a new installation you will need to let the device get the drivers installed fully to the computer.
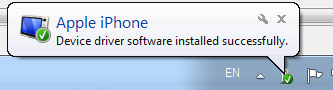
If you are doing this with an iPhone then you will also need to confirm the connection on both sides, the phone and on iTunes.

It is possible to stop iTunes from running the automatic synchronisation by simply holding down the SHIFT+CTRL keys (on Windows) or CMD+OPT keys (on a Mac) while you are connecting your iPod to your computer. Keep holding this combination until iTunes has fully loaded and your device shows up on the iTunes device list.
Due to the protection from erasing the music player when connecting to a new iTunes library there will be no popup to tell ask if you want to synchronise the library. In order to keep if from not synchronising in the future connections of the iPod or iPhone you need to disable the automatic synchronisation in the iTunes options. This will keep it safe from accidental deletions of the data while you are copying over the data.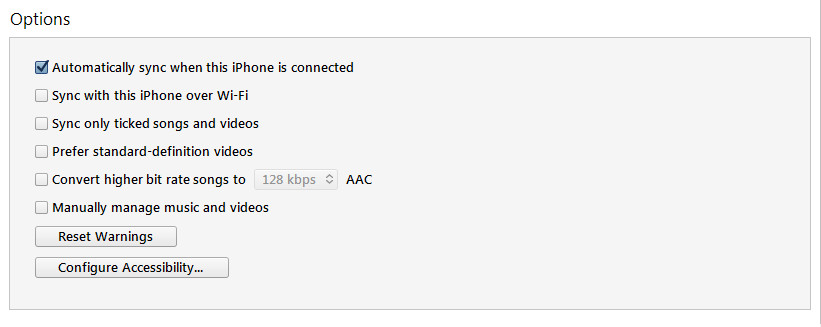
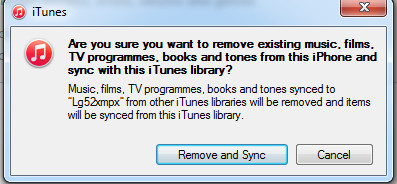
If you will try to do any synchronisation action at this stage it will ask if you want to erase this device and write out data from this iTunes. If that message does pop up, just press cancel.
At this stage it is a good idea to back up the iPhone or iPod to make sure that there is at least one way of getting the data back (if its backed up, it is possible with some software to go into the backup and look at the available files.)
The latest iTunes versions allow the backward transfer of purchased tracks only. This means that any music or movies you did not buy in their store you will not be able to transfer back.
![]()
Here the combined part of the guide ends and there are options available for newer and later devices. There is a manual way of downloading the content and using 3rd party tools to download the data. If you are not very technical you may want to use the tools solution to make life easier for yourself.
Music recovery parts: Part 1 | Part 2 | Part 3 | Part 4